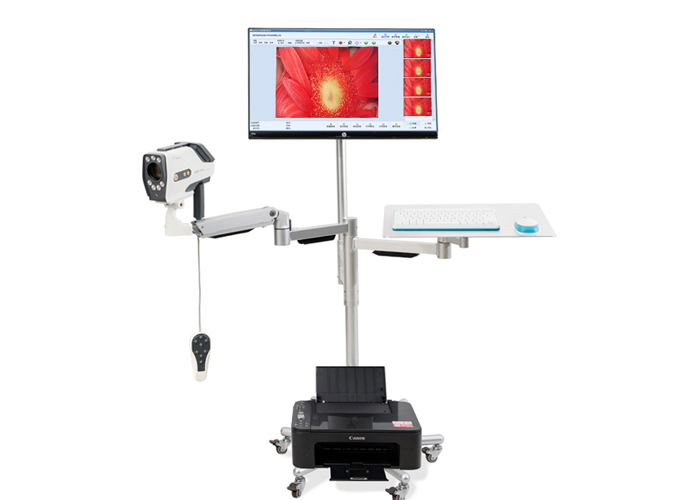
Operation Steps Of Digital Colposcope
1. Use the mouse to click the <build a new case> button in the main interface window and enter some patient information, and then click the <return> button on the window, the system enters the image acquisition window interface, and the image acquisition window will display the observations of the colposcopy To the moving image.
2. Calibrate the image color
Click the <Lens Settings> button, the <SET> button, and the <Down arrow> until the arrow points to <White Balance>. If the setting is not <AWC>, click the <Right arrow> until it is set to <AWC>. Align the colposcope vertically at a distance of about 20CM from the white calibration plate. After the focus is clear, click the <SET> button, wait for 2 seconds, and the image effect is completed. Then click the <down arrow> until the arrow points to <End>, click the <SET> button, and the <Back> button to end the white balance correction.
3. Zoom in and focus
Adjust the colposcope to a suitable distance from the speculum (10-35CM) until the image on the monitor is clear. When observing a local lesion, if you need to zoom in and observe it, you can press the <+>, <-> buttons on the lens back cover, or you can first click the <lens adjustment> button on the screen, and then click the <+>, <- on the screen > Button to enlarge the image locally. With the gradual enlargement of the image magnification, the observer can see a clear image of the cervical cavity or vaginal fornix.
4. Observe
By adjusting the focal length, push the lens forward and backward until a clearer image can be observed on the monitor, and then use fine-tuning to make the image very clear, and then you can start to observe. If observing the lesions of the cervix, first use a cotton ball to gently wipe off the secretions on the surface of the cervix and vagina, and then observe. The observation content includes the size of the cervix, whether there is ectropion of the cervical mucosa, the size of the erosion surface, and whether the blood vessels and epithelium are abnormal.
5. Collect images
Acquisition can be done in many ways, step on the foot switch, press the <F4> hot key, or click the <capture image> button. After the operator selects the best image observation effect, he should collect the current image in time, and repeat the above actions if other images need to be collected; if no more images are required, ask the patient to leave the examination table. By observing the images collected on the monitor, the doctor can explain the lesion to the patient according to the image, so as to achieve a good effect of intuitive communication. In addition, color printout devices can be used to provide color image reports to patients or to facilitate future applications.
6. Generate report
Click the <Generate Report> button to fill in the report form. You can directly use the keyboard to input, you can use <Ctrl>+<C> to copy, <Ctrl>+<V> to paste, and you can also drag and drop from the template. For the combo box, you can select and input from the options. After filling in the report, click the <Print Report> and <OK> buttons to start printing.
7. Create a new case and be the next patient
If you need to save the case you just collected and printed (ie the current case), press <Yes>, otherwise, press <No>. If you don't want to create a new case and continue to operate on the current case, press the <Cancel> button. Repeat steps 1 to 6 above.
